
Cisco recently announced their new Catalyst 9800 WLC platform and with all the changes I was itching to install the new cloud version to play around.
Well…after many trials and tribulations (all user error!) I was able to get a working instance up and running successfully. As of this post I’m waiting to make a couple of changes to our UCS environment to get some more vlans available but I’ve got enough of a setup to get a 3700 AP and clients joined.
So today I wanted to just highlight a few things I learned the hard way during installation and setup and to provide an initial look at the new GUI for those that haven’t had the opportunity or ability to spin up their own. On to the fun stuff!
Lessons Learned:
The C9800 comes in a few different flavors with both hardware and cloud versions available. I chose to use the C9800-CL OVA image for VMware as that is what we are running in our lab.
For the most part I like Cisco’s documentation and especially for a new platform I thought that their deployment guide did a pretty good job of walking through the process especially for someone like me who hasn’t spent much time in VCenter. Here’s a couple things I learned along the way that might save some people some trouble in the future:
tldr; Make sure to allow forged transmits on your trunked interface port group in VMware
- When you get to the part about setting forged transmits to accept – don’t ignore! I missed that part since we already had a trunk port group created in our environment and I just used the existing one. If forged transmits are set to Reject (default) you will not be able to communicate with any SVI’s (like your management) on the switch. This one setting caused me to go down a few rabbit holes that I didn’t have to while trying to figure out why I didn’t have connectivity to my controller. One of those was…
- Smart Licensing. Cisco is using the Smart Licensing model for their new controllers. While troubleshooting my connectivity issues I found this little blurb in their troubleshooting documentation:
 After reading that I figured that my connectivity issues were because I didn’t have smart licensing setup on it yet. I went ahead and got added to our company account so that I could create the required token that needs to be added to the device. To apply the token to the controller you issue the license smart register idtoken <token_ID> command. At this point I ran into a very inconvenient issue. My only access to the controller was via the virtual console in VSphere and that wasn’t setup to allow copy/paste (and I didn’t have permissions to change at the time). That turns out to be a big deal when your token id looks like this (not my real token) –NGJiOWIyMTAtYWRdNy00ODNjLWEwZDItNThiODE1MzQ5MDgxLTE1NDU0NDc5%0AMFM3ODZ8djlOWGpLRDZsQnZHTUh3bWRZTElmR1dpcEdUWHBJMnplaDd5M3h0%0AMWtpbz0%3D%0A – I actually only had to type it in once (thank god) but it was a big PITA to make sure all my 1’s and l’s were correct!
 - After going through all that rigamarole I still didn’t have connectivity. After some more trial and error I ended up scrapping my SVI and using a routed interface on the controller. Once I did that I at least got IP connectivity going. Once I was able to get in and do the “day 0” basic config I went back to try and figure out why SVI’s still weren’t reachable. I re-read the deployment guide and found the previously mentioned forged transmits section. Figuring that might be my issue I changed the setting to “Accept” on the trunk port group that was connected to my trunked controller interface and -presto- I could all of a sudden ping my SVI.

What I learned is that some steps are NOT optional when reading the install guide!
First Impressions
The old airespace GUI was getting pretty long in the tooth and wasn’t the most user-friendly thing in the world to use. While the changes and workflows differences are significant with this new OS my initial impressions are positive. Here’s what the inital dashboard looks like (click pictures to enlarge):
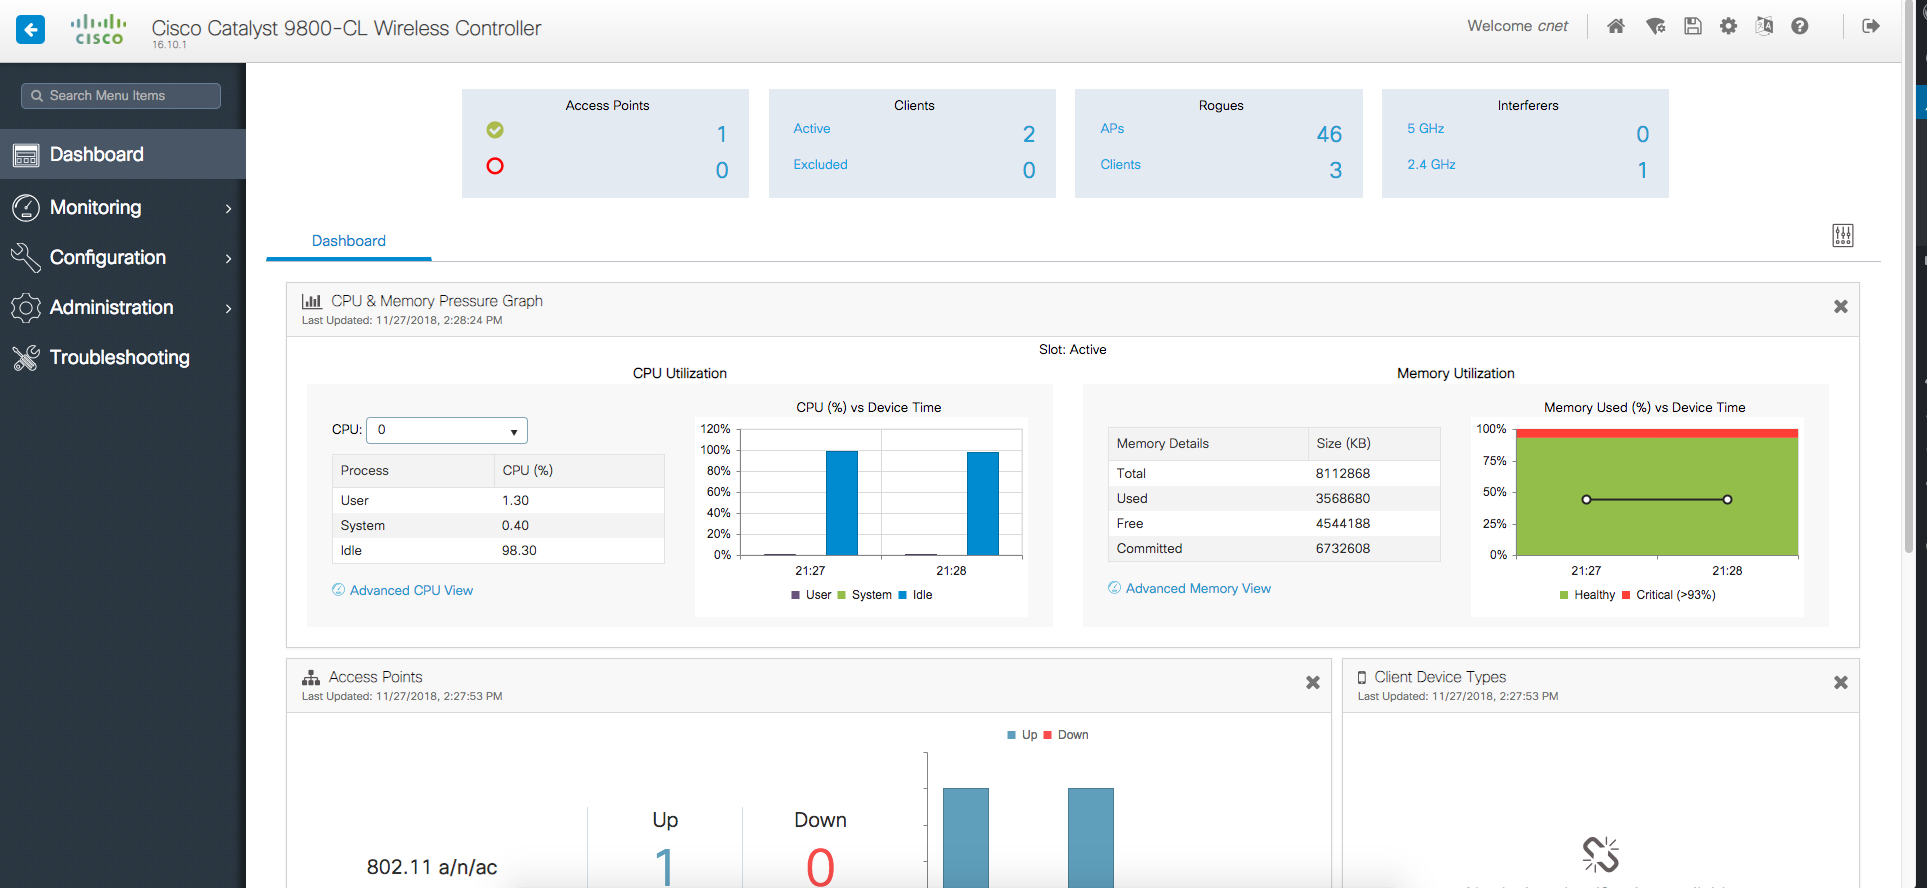
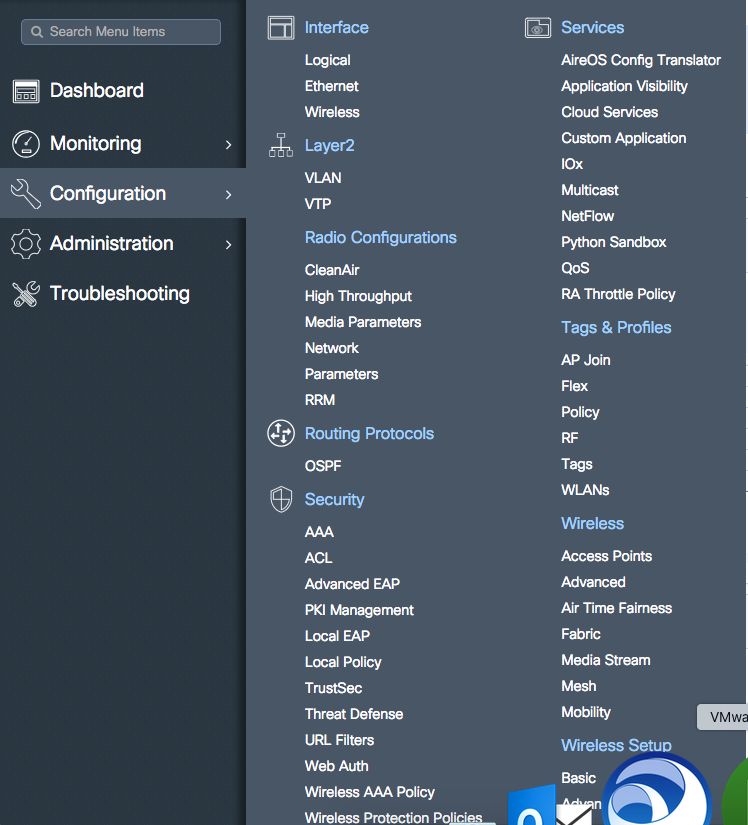
Unlike the old GUI – everything is left hand menu based. With the menus changing, some of that old muscle memory from configuring AireOS is going to have to be recalibrated!
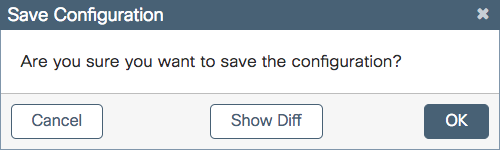
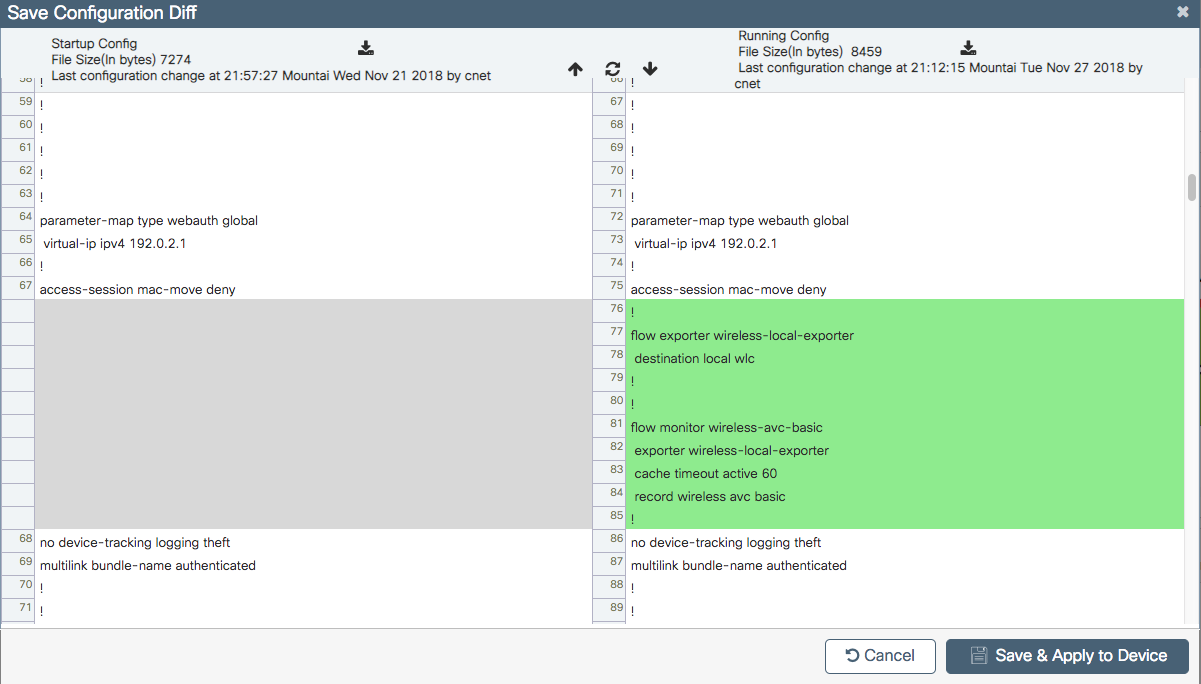
One feature that I think is awesome (and WAY overdue) is the controller giving the option to view the config diff when applying changes. When you click the save button in the upper right it will pop up asking if you’re sure you want to save and there will be a Show diff option.
Clicking show diff brings up the following:
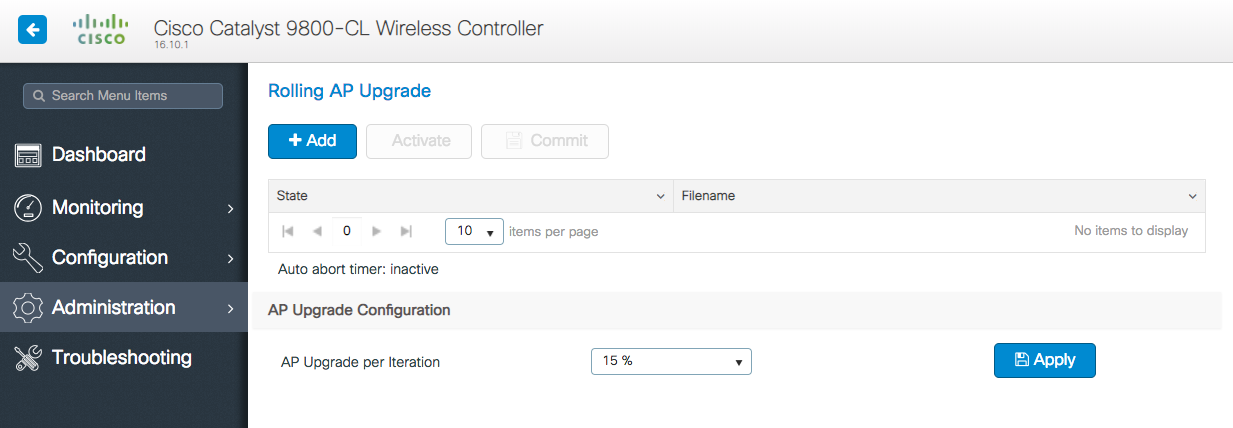
Another new and requested feature is the Rolling AP Upgrade. You specify the percentage of APs to be upgraded for each window and the controller will upgrade the APs in batches of that size. It uses neighboring AP data to figure out what APs to upgrade while still maintaining connectivity for clients.
And finally – to help in the transition from AireOS to the new platform there is a config translator built right into the GUI. Simply upload your AireOS config and it will generate an IOS-XE based config to help ease the transition.
![]()
There are many, many more new things to explore and I’m just scratching the surface. Keep checking back as I hope to document some more of the new features!
Did you get this working in evaluation mode? Or did you purchase an actual license?
No license for the controller. I did have access to some smart licenses for the APs.